Español
 عربى
عربى
 Deutsch
 русский
 Français

If you have ever seen a PEX fitting leak after a system is under pressure, the cause is rarely the brass fitting itself. More often, the pipe was not prepared correctly, or the connector was not seated to the marked depth. The answer is straightforward: choose a brass PEX fitting that matches the connection method you are using, prep the pipe the same way every time, and verify every joint before the lines are covered. In this guide, we cover the installation steps for brass PEX press fittings and push-fit connections, the mistakes that cost plumbers time, and the pressure test that tells you whether the work is truly done.
Choose the Right Brass PEX Fitting for Your Connection Method
Brass PEX fittings are not one-size-fits-all. The material is the same, but the locking mechanism determines how you install them. For a permanent branch or repair, a brass PEX press fitting (often called a crimp or clamp fitting) is the standard choice. It uses a metal sleeve that a hand or battery tool compresses onto the PEX pipe, creating a watertight seal. For a quick repair in a tight spot, a push-fit brass fitting lets you insert the pipe and lock it in place with an internal stainless grip and O-ring. A compression fitting, which has a nut and ferrule, is also available when you want to reuse the fitting.
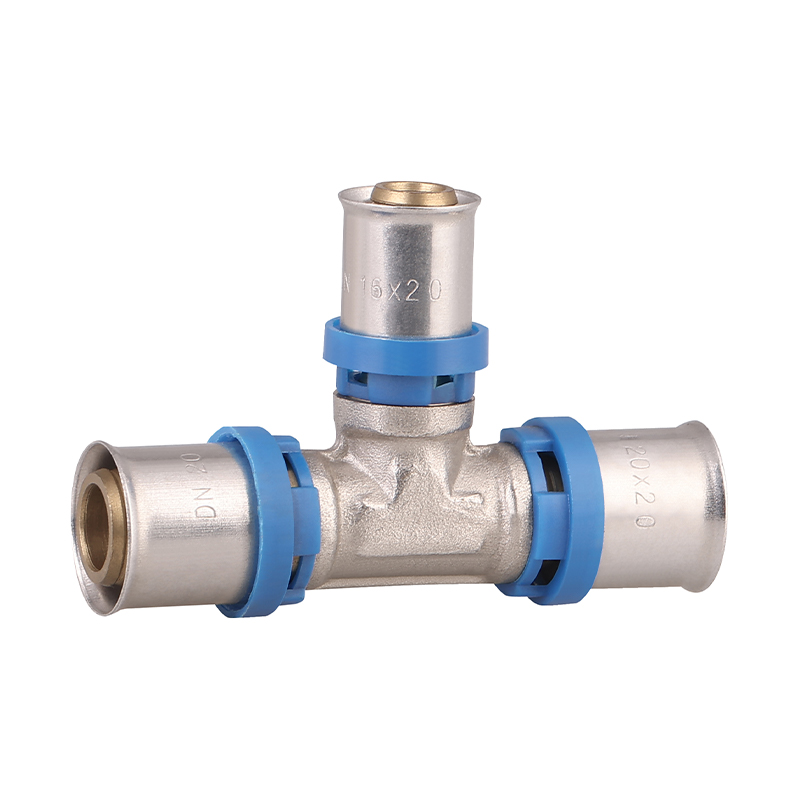 Brass PEX Press Equal Tee for Permanent Branch ConnectionsThis equal tee fitting uses press technology for quick, tool-driven installation without soldering. Made of corrosion-resistant brass, it suits potable water and heating systems, providing a durable, leak-resistant connection.View Product →
The fitting you choose should also match the PEX pipe standard you are using. PEX is available in A, B, and C types, and the outer diameter is standardized for each nominal size. A 1/2-inch PEX pipe has an outside diameter of 0.625 inches, but the inside measurement can vary. That is why you should never mix brands or connection systems without checking the fit. The durability of brass pipe fittings is one reason they remain a common choice across water supply systems, but the installation must still be done correctly.
Prepare the PEX Pipe Before You Insert the Fitting
Preparation is where most installation failures start. Use a PEX cutting tool that produces a clean square cut. A hacksaw leaves burrs and can nick the surface, which makes the O-ring seat unevenly. After cutting, run a deburring tool around the inside and outside of the tube. This removes shavings that can push the O-ring out of position when the fitting is inserted.
Next, mark the insertion depth on the pipe. The fitting manufacturer specifies a minimum insertion distance, usually stamped on the fitting or listed in the instructions. Use a soft marker or a piece of tape to create a visible line. When the fitting slides over the pipe, you will see exactly where it should end. If you bury the line, you are not fully seated. If the line is visible, the fitting is not deep enough.
Before installation, inspect the fitting interior. Brass press fittings have a rubber O-ring inside the body. Push-fit fittings have two O-rings and a stainless grip ring. If the O-ring is dry, some brands allow a small dab of lubricant, but never use pipe dope or silicone grease unless the manufacturer says it is compatible. A dry O-ring can roll during insertion, but excessive lubricant can also prevent the ring from seating.
How to Install Brass PEX Press Fittings Step by Step
The press method is still the most common way to connect brass PEX fittings in plumbing. Here is the sequence that eliminates most field failures.
- Cut the PEX pipe square and deburr both ends.
- Slide the brass press fitting onto the pipe until it reaches the marked insertion depth.
- If your system uses a separate metal sleeve or ring, slide it over the pipe so it sits behind the fitting body.
- Close the press tool jaws around the sleeve or fitting body. Confirm the tool size matches the fitting size.
- Activate the tool once. Do not crimp again in the same place; the ring will over-compress and lose its seal.
- Pull on the fitting to confirm it is locked. The fitting should not rotate or slide away from the marked line.
Always check the pipe and fitting diameter. A 1/2-inch press tool has a specific die, and forcing a 3/4-inch fitting into a 1/2-inch pipe will damage the O-ring. The tool is the precision part of the equation. If the tool is out of calibration, the ring may not compress enough. Use the manufacturer's gauge or go/no-go ring to verify each joint.
How to Install Push-Fit PEX Fittings
Push-fit brass fittings are the fastest way to make a PEX connection, and they are useful when you do not have a press tool on hand or when a fitting must be replaced under a sink. The installation is simple: mark the depth on the pipe, push the fitting straight in until it bottoms out, and pull back gently to confirm the grip is engaged. There are no rings to compress, and you can remove the fitting with a release tool if you need to take it apart.
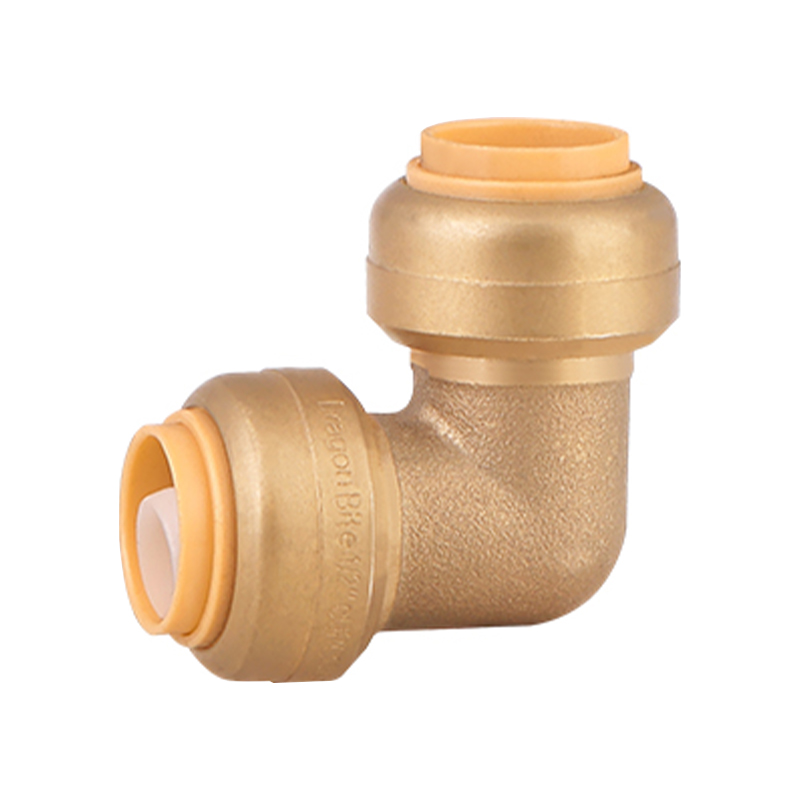 Push-Fit Brass Fittings for Fast PEX ConnectionsIdeal for repairs and tight spaces, these push-fit fittings allow pipe insertion with an internal grip and O-ring. Compatible with PEX, copper, and CPVC, they offer a simple, removable connection without special tools.View Product →
One thing to remember: push-fit fittings are not meant for all PEX pipe. Some push-fit brands work only on specific wall thicknesses. The pipe should also be clean and free of scratches. A scratch on the outer surface can create a path for water to bypass the O-ring. For this reason, many plumbers use push-fit fittings for temporary repairs, but they also use them permanently when the pipe is in good condition.
Common Installation Mistakes and How to Avoid Them
Even an experienced installer can miss a step when the schedule is tight. The table below lists the mistakes that most often lead to leaks and the checks that prevent them.
| Mistake | Result | Prevention |
|---|---|---|
| Not deburring the pipe after cutting | O-ring is scored or pushed out of position, causing a slow leak | Run a deburring tool on both the inside and outside of the cut end |
| Ignoring the marked insertion depth | Fitting is too shallow, leaving the grip ring partially engaged | Mark the pipe with a visible line and push until the line meets the fitting face |
| Using the wrong tool size | Metal sleeve does not compress completely, and the joint fails under pressure | Match the press tool die to the exact PEX fitting and pipe diameter |
| Double-crimping the same joint | Over-compressed sleeve cuts into the pipe or loses spring-back strength | Activate the press tool once, then use a go/no-go gauge to verify |
| Applying incompatible lubricant to the O-ring | O-ring swells or degrades, leading to premature leakage | Use only the lubricant specified by the fitting manufacturer, if any |
| Skipping the pressure test | Defects are discovered after walls are closed, creating a costly repair | Pressure test to 1.5 times the working pressure and inspect every joint |
Choosing the Right Brass PEX Fitting for Your Job
Once you know the connection method, the geometry of the fitting is the next decision. A brass PEX equal tee is used when you need a branch from a line, a coupling is used to join two pipes, and an elbow changes the direction. The fitting should be selected based on the actual piping layout, not what is left over in the toolbox.
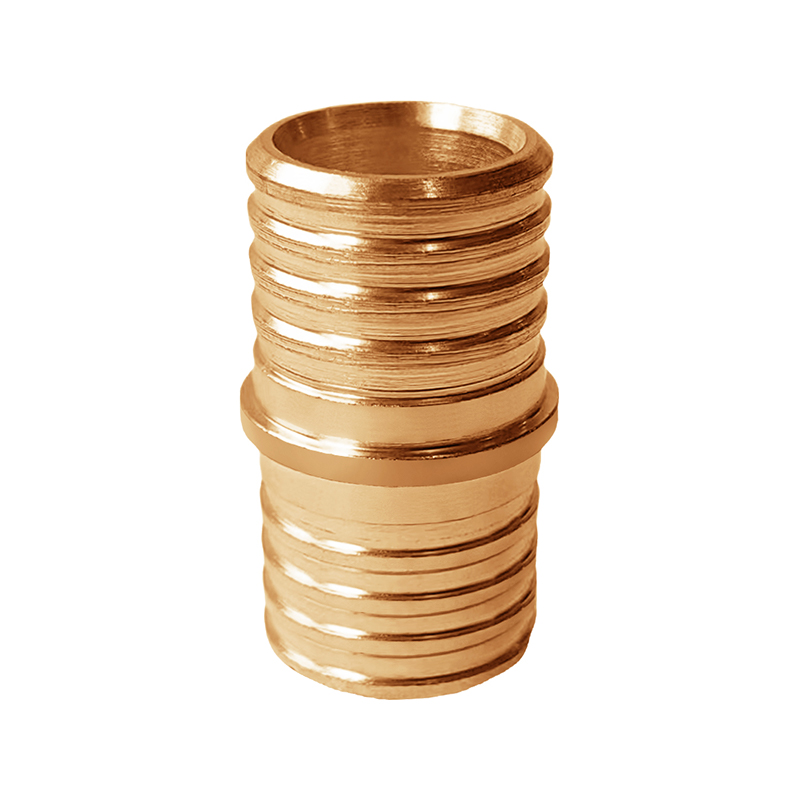 Brass Equal Straight Coupling for Pipe AlignmentThis brass straight fitting joins two pipes for seamless alignment. Forged from durable brass, it withstands temperature extremes and provides leak-proof performance in plumbing systems, with custom sizes available for specialized needs.View Product →
For example, a brass PEX press fitting equal tee gives you a permanent branch that is easy to align before you press. If you are replacing a damaged section, a straight coupling is often the simplest option. We also offer a hydraulic PEX male coupling when you need to transition from a threaded connection to PEX. The key is to know whether your PEX pipe is the standard type that these fittings are designed for.
Pressure Test the PEX System Before Finishing
After all fittings are installed, it is tempting to cover the walls and move on. That is when a small mistake becomes a big repair. Before you close up the work, run a pressure test. The standard residential test is 1.5 times the working pressure, but the exact value depends on your local code. For example, if the system operates at 60 psi, test at 90 psi. Keep the system at that pressure for at least 30 minutes. Then go around every fitting and check for a pressure drop or visible moisture. Write down the test result and the date. This record is useful for warranty claims and future maintenance.
At the end of the job, the difference between a reliable PEX installation and a leaky one is not the price of the fitting. It is the habit of preparing the pipe, seating the fitting completely, and testing the joint under pressure. Brass PEX fittings are designed to last decades, and they will not fail if the installation is done correctly.